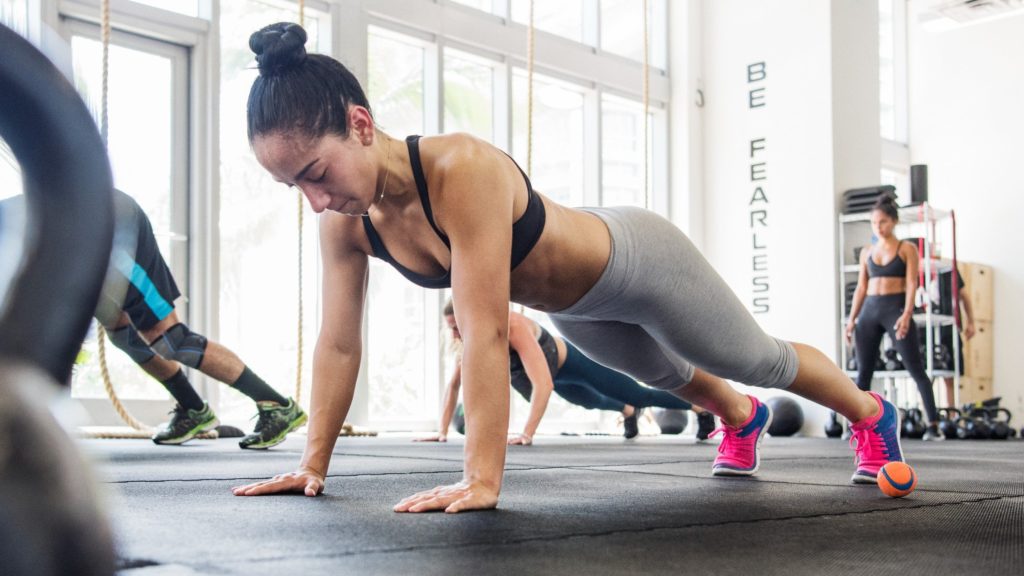
7 Steps to Mastering the Push-Up

Get access to everything we publish when you
sign up for Outside+.
I’m going to let you in on a secret. As an adult, I couldn’t do a single push-up from my feet until my mid 30s. And trust me, I tried everything:
- Starting on a smith machine, then progressing the bar lower
- Increasing reps on my knees
- Changing hand positions
- Decreasing range of motion to prioritize stability
- Dumbbell chest presses at various angles
- Crossfit-style hand-release push-ups
- Doing them first thing in the morning when strength was at its peak
While push-ups are definitely a strength move, requiring you to lift 64% of your body weight with your upper body, there are a few tricks to mastering a full-body push-up quickly and with perfect form.
Nothing worked for me until I learned a different variation that anyone can try. If you stick to it, it’ll get you in push-up shape in no time.
Grab a mat or a cushion for your knees and follow this guide to mastering your first push-up as soon as this week.
Step 1: Get in The Right Mindset
A push-up is essentially a moving plank. So, if you can do a plank on your hands, you can use this guide to master your first push-up — and many more. As you go through the steps, remember to keep your core tight.
Step 2: Upper-Body Starting Placement
Start in a high plank on your hands and feet. Make sure your hands are directly beneath your armpits with your fingers facing forward. Wider and narrower hand variations make the exercise harder.
Step 3: Lower-Body Starting Placement
Move your feet away from each other. A wider distance between your feet makes the exercise easier.
Step 3: Proper Hand Placement
Place your weight toward the thumb side of your palm. Spread your fingers away from each other, like a duck with webbed feet. With all 10 fingers, dig lightly into the floor, like you’re trying to grab the floor.
Step 4: Get Low
As you lower down, inhale and keep your gaze on the floor approximately one foot in front of your body. You will actually lower your body down on this slightly forward diagonal path, as opposed to going straight down to the floor. If this is a bit much all at once, put a yoga block or two under your chest to start with a smaller distance.
Step 5: Drop Your Knees
Before you ascend, add an extra step to normal push-ups by lowering your knees to the floor. Don’t skip this step!
Step 6: The Ascent
Your knees will be on the floor, but only as you ascend. Remember to keep your shoulders away from your ears and exhale forcefully as you push your hands into the floor to raise your body upward.
Really push down, as if you’re trying to jump. The only difference is that you’re using your upper body, and you’re not actually leaving the floor as you would during a plyometric push-up.
Step 7: Ready for more?
Lift your knees back up to the starting position, and repeat the process. Be attentive to detail, and remember to drop your knees between the lowering and ascending phases. Once you can do 10 reps this way, try taking out the knee-dropping step.
Then, congratulate yourself on your first full-body push-up! Once you’ve mastered this technique, many more reps will soon follow.
If you didn’t nail it from the start, keep trying; everyone will progress at a different pace. Give this exercise a try daily, and you’ll be on your way to rapid gains in upper-body strength!
Published at Tue, 08 Mar 2022 10:02:20 -0800


