Back Pain After Deadlifts? Try These 3 Exercises
Get full access to Outside Learn, our online education hub featuring in-depth fitness and nutrition courses and more than 2,000 instructional videos when you
sign up for Outside+.
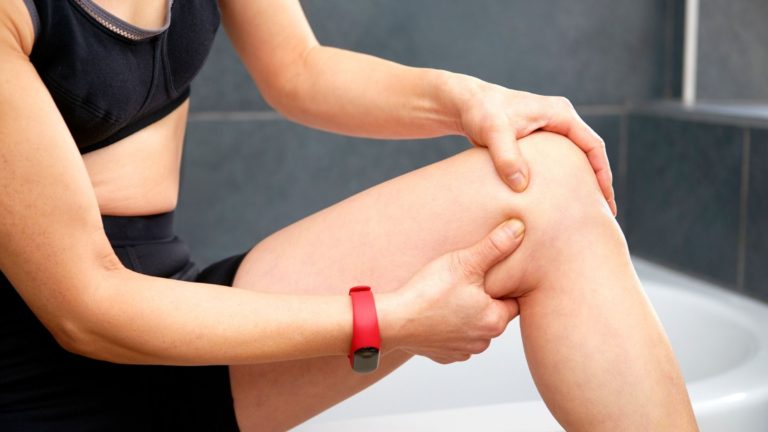
Let me be the first person to tell you — back pain after deadlifting is not normal.
At its core, the deadlift is a leg press movement, meaning it utilizes your big movers: your glutes, hamstrings and core. Many of us do not have sufficient posterior chain (the muscles running up and down the backside of your body) activation or enough core strength to maintain a neutral lumbar spine, aka a flat back throughout the lift. Some of this is due to lifestyle factors like sitting for long periods of time throughout the day, poor functional movement pattens, or a combination of both.
From the way you pick up your children to the mechanics of lifting grocery bags, those movement patterns should match the technique and approach you utilize in a deadlift.
Don’t know how you’re moving? Record yourself. I’m not just talking about while you’re lifting, but also look at yourself simply moving around the gym, picking up the weights or picking up the empty barbell. The way you pick things up should be the same when you lift 35 pounds as it is when you lift 135 pounds if you want to avoid injury and relieve pain.
Here are some simple ideas you can begin adding into your routine to combat the notorious but unnecessary post-deadlift low-back pain.
Please note: this blog post is not an alternative for seeking professional medical help for your unique issues, should your pain persist.
Performance Points for the Barbell Deadlift
Before diving into the warm-up exercises, consider these performance points prior to deadlifting.
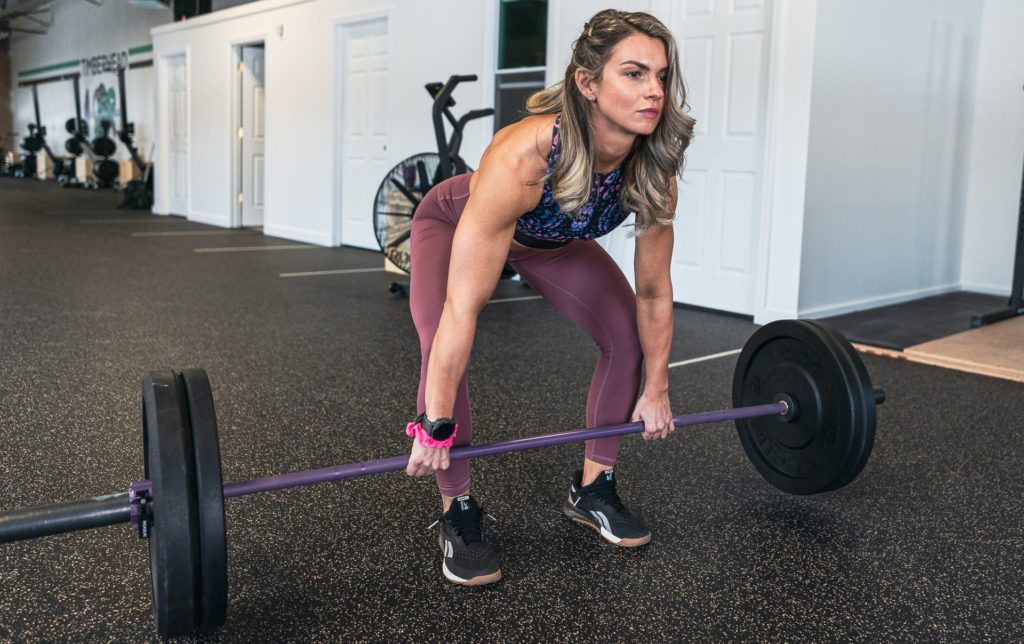
1. The Setup
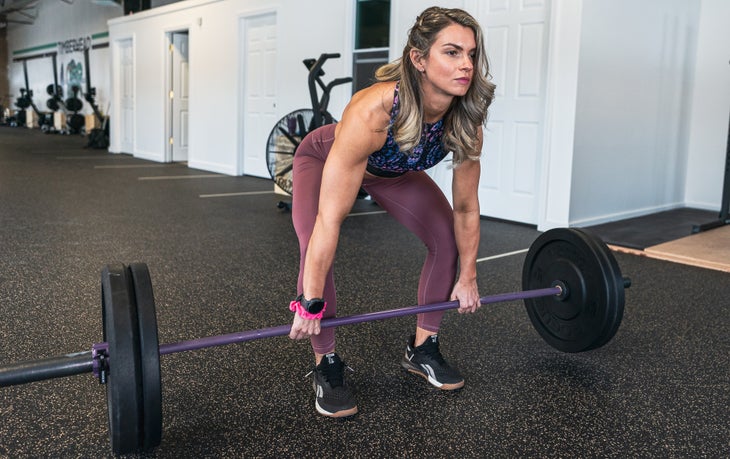
Your feet should be directly under your hips, your laces should line up under the bar, hands should be slightly outside of your thighs, and the bar should stay in close contact with your body as you stand up.
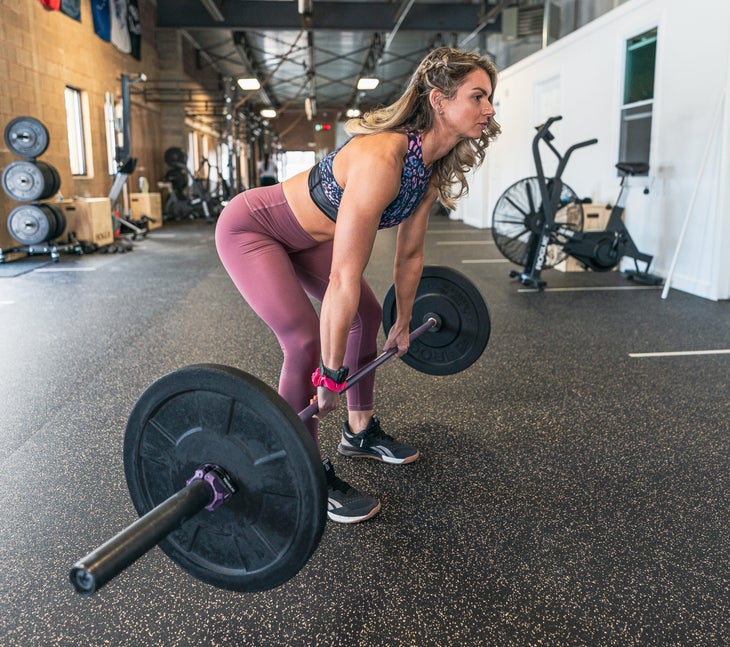
2. First Pull
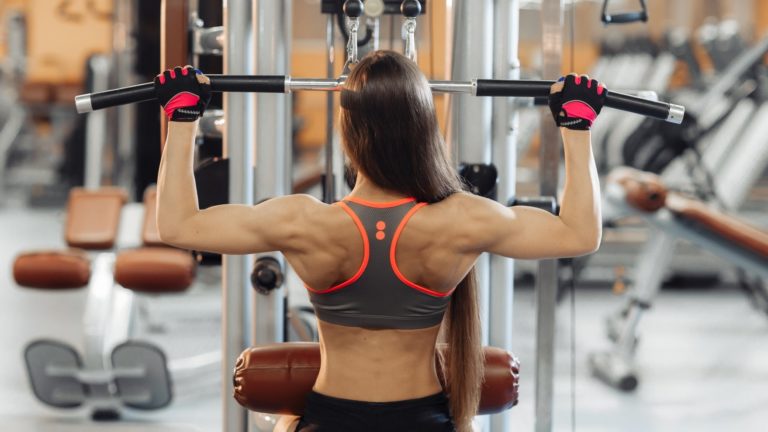
Hips and chest should rise at the same time, lats engaged and squeezing through your mid back to create tension throughout the lift, your neck should maintain a neutral position (not looking up or down, but right in front of you toward the horizon), maintain your natural spine throughout your pull.
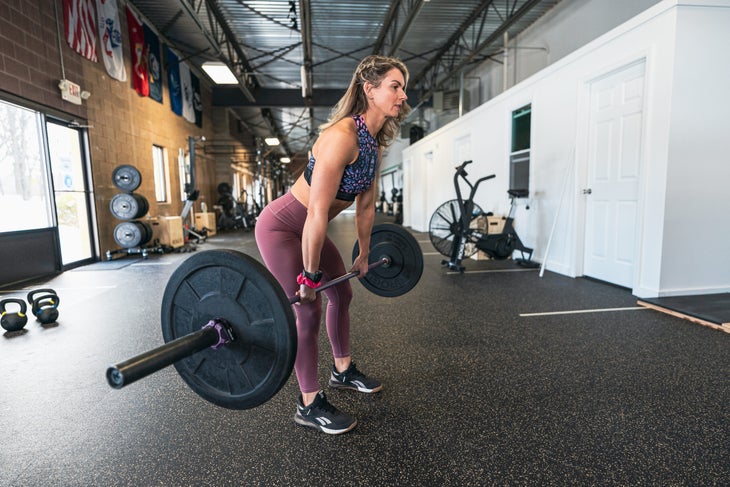
3. The Lockout
Finish in a neutral spinal position, do not hyperextend, shrug, or bend your arms at the top of the lift.
4. On the Way Down
Keep the bar in close to you, control the weight as you bring it to the ground, light tap of the plates on the floor.
3 Exercises to Combat Back Pain During Deadlifts
1. Bird Dogs
Everybody talks about core strength, but what does that even mean?!
Your core is made up of deep and superficial muscles. The superficial muscles such as the rectus abdominis (more commonly: the 6-pack muscles) do nothing for lumbar stabilization. Meaning: all show no go in this department. Your lower abs, or your transverse abdominis, are the primary muscles that act to stabilize your spine.
Your lower back and the spinal segments that make it up do not like excessive movement — this is what causes pain. Losing your neutral spine when pulling off the ground creates excessive movement in the low back. So, how you do you train this muscle?
It’s not with sit ups or planks. Instead, slow and controlled movement of your upper and lower extremities in space, while maintaining a neutral spine, create meaningful changes in spinal stabilization. Bird dogs are an excellent way to train this activation pattern. Perform this exercise prior to deadlifts to “warm up” your lower core.

Begin in a quadruped position. Go through the two end ranges of extreme spinal flexion and extreme spinal extension (also known as cat/cow) to find your neutral spinal position halfway between those end ranges. Then, hold this position while bringing your opposite arm into full flexion and opposite leg into full extension.
Hold this position for 5 seconds (with an emphasis on these holds for stabilization) and return to neutral without breaking at your midline. Repeat for 2 sets of 10 reps on each side. This should have your midline primed for a neutral spinal position throughout your lifts.
As this gets easier, you can add a weight in your hand or an unstable surface to increase the challenge.
2. Glute Bridge
You need your glutes during a deadlift, they are the primary movers in this exercise. It’s no wonder why 300# deadlifts are becoming more and more common place among female athletes. The glutes are an immense muscle that can move a ton of weight if you can activate them properly. A fast way to get your glutes firing prior to deadlifts is by performing a glute bridge. Instead of using both legs, try a single leg technique in order to reduce compensation patterns.
Perform 3×8 reps per leg adding weight to your hips, if able. Try to focus on feeling this in the center of your butt cheek as opposed to primarily in the hamstring or the back of your leg. Don’t add weight until you feel a solid activation pattern.
3. Single-Leg Romanian Deadlift
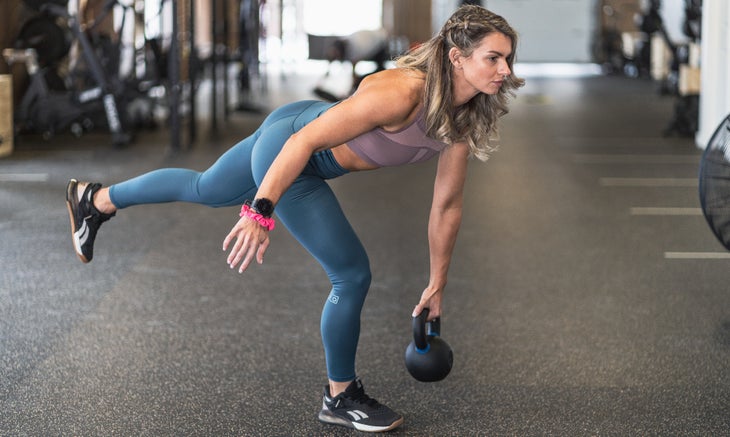
No warm up exercise quite compares to the single-leg RDL’s ability to “wake up” the posterior chain. Unlike the squat, this exercise requires the ability to hip hinge or move about your hips (a necessary component to the deadlift).
There are a few different approaches to the exercise if it’s not something that you normally do.
First, you can begin in a tandem stance with your front foot planted and back foot in a kickstand behind you for balance. Bending forward with a neutral spine, load your glutes and hamstrings until you reach the end range (meaning you can’t bend forward anymore without losing your neutral spine).
If this is easy, let your back foot leave the ground as you move about your hips. The knee of your back leg should be fully locked out and your toes should stay pointing toward the floor. Root your big toe and little toe of your planted foot into the ground to create a “foot tripod” to aid in your stability.
The ability to maintain your balance and move about your hips on one leg with a neutral spine translates over to your deadlift technique tenfold. As you get comfortable with this movement, you can begin to add load to the contralateral side — the side opposite your planted foot.
Published at Wed, 06 Apr 2022 13:07:11 -0700
