The MMA-Style Lower-Body Conditioning and Flexibility Workout

Bodybuilders and martial artists could be viewed as total opposites when it comes to their workouts and goals in the gym.
The former often obsessively focuses on one bodypart at a time, even drilling down to various parts of a muscle, all in an attempt to develop each fiber to its maximum potential and polish each nuance of their physique to perfection.
The martial artist, however, pursues a stunning array of benefits from each workout.
“Martial artists and MMA competitors incorporate components of flexibility, conditioning and endurance — as well as explosive power and speed — to achieve ultimate physical and mental fitness,” says Teri Jory, Los Angeles–based personal trainer, professional ice skater, fourth-degree black belt and creator of the Poise method. “In short, they lean more on multifunctional workouts as opposed to only one or a few elements. Even when focusing on the legs, like in the following workout, they’d incorporate elements of the total body.”
Yet even if you’re mainly about aesthetics, these types of synergistic, top-to-bottom body-blasting sessions can spur some tangible benefits in your quest for improved shape, size and definition, too. After all, a highly conditioned, flexible muscle group is also by nature more developed, and it will also be better primed for action when you bounce back to your regular training regimen.
“This routine is designed to increase flexibility and mobility by working through deep ranges of motion,” Jory explains. “The order of exercises is organized specifically to test your muscular endurance, and it is capped with a classic high-intensity cardiovascular finishing move to push your lower body to its max.”
Consider it a case of “opposites attract” — and embrace your inner martial artist with this workout at least once or twice a month in place of your regular leg day.
The Fighting Shape Lower-Body Conditioning and Flexibility Workout
| Exercise | Sets | Reps/Time |
| Hip Hinge (warm-up) | 2 | 10 |
| Romanian Deadlift | 3 | 6-10 |
| Single-Leg Romanian Deadlift | 3 | 6-10 |
| Bodyweight Lunge | 3 | 6-10(per leg) |
| Isometric Bulgarian Split Squat | 3 | 6-10 |
| Mountain Climber | 3 | 1-2 minutes |
Note: After your mountain climbers, do a cool-down to slowly bring your heart rate back to a normal range — it can be a slow, steady pace on a treadmill, elliptical or stationary bike, or you can switch the final two movements and take the Bulgarian split squat nice and slow, dialing back the intensity.
Exercise How-tos
Hip Hinge
Equipment: PVC pipe or a light, long bar, or long towel
Teri’s Take: “The hip hinge targets the posterior chain, which includes the hamstrings, glutes and lower back, and it also engages your core. It’s a beneficial warm-up for your next exercise, the Romanian deadlift — and together, they help strengthen the posterior chain while greatly enhancing your flexibility, a true win for all-around performance and injury prevention.”
How-To: Stand with your feet slightly more than shoulder-width apart, toes pointed slightly outward. Place a PVC pipe (or a light, long bar or long towel) vertically on your back and grasp one end with your right hand in the natural curve of your neck and the other end with your left hand in the small of your back. Make sure the pipe is touching three points: the back of your head, your upper back and your sacrum (where the lower back meets the glutes).
Slightly bend your knees, shift your weight to your heels, and push your hips and glutes back toward the wall behind you while you hinge forward at the hips, stretching your hamstrings and keeping your lats and core engaged. Lower your torso until it’s midway between vertical and parallel to the floor — at no point should the pipe lose contact with the three points (back of head, upper back and sacrum). Pause in the bottom position for three seconds, then reverse the movement by contracting your glutes and pushing your hips forward and upward to return to the starting position. For your second set, switch which part of the pipe each hand is holding.
Romanian Deadlift
Equipment: Olympic barbell (45 pounds) or two dumbbells (5 to 10 pounds each)
Teri’s Take: “Everyone can benefit from incorporating the Romanian deadlift into a regular workout routine. It’s effective because it does more than just help build muscle; it improves mobility and flexibility of the hips, as well as your core strength.”
How-To: Stand upright holding a barbell in front of your upper thighs with a pronated (overhand) grip. Keep your feet shoulder-width apart and a slight bend in your knees. Keeping your chest up, abs tight and the natural arch in your lower back, lean forward from your hips, pushing them rearward until your torso is roughly parallel to the floor. As you lean forward, keep your arms straight and slide the bar down your thighs toward the floor until it reaches your shins.
At the bottom, pause for three seconds as you keep your back flat, head neutral and the bar very close to your legs. Flex your hamstrings and glutes and lift your torso while pushing your hips forward until you bring the bar back to the start position. “A good rule of thumb is to be able to complete five to six repetitions with control before increasing the weight,” Jory says.
Single-Leg Romanian Deadlift
Equipment: One dumbbell (5 to 10 pounds)
Teri’s Take: “The single-leg Romanian deadlift is the same movement as the two-leg version, except you’ll perform it on one leg at a time. It improves your balance and stability in the ankles, knees, hips and core, and it is also great for proprioception — i.e., your awareness of your body’s position and movement in space.”
How-To: Grasp a dumbbell in your right hand, with both legs straight but knees not locked out, toes pointed slightly outward. Balance on your right leg, pressing down into the floor evenly through your toes and heel, and lift your left foot up so it just clears the floor, bending that knee slightly. Maintaining a flat, straight back from your head to your glutes, with the left leg straight, slowly push your hips and glutes toward the wall behind you while you hinge forward at the hips, stretching your hamstrings of the planted foot while lifting your left leg up as far as comfortable behind you while maintaining a neutral spine. Stop when your torso is parallel with the floor — not below.
At the bottom, the dumbbell will likely be a few inches from touching down. From that point, flex your right glute and hamstrings to bring your body back to an upright position. Complete all reps on one side and then switch to the other leg. Six to 10 reps per side equals one set.
Bodyweight Lunge
Equipment: None needed
Teri’s Take: “Lunges are a functional exercise that strengthen and stretch your hamstrings, quads and glutes, and they also engage multiple muscles across your hips, knees and ankle joints as you’re stabilizing your core.”
How-To: From a standing “ready” position, take a big step forward with one foot and lower your hips down toward the floor as you bend your front knee, keeping your torso upright and core engaged. In the lunge position, your back leg should be stretched out behind you, knee elevated off the floor as you’re balanced on your toes, and your front knee should be bent to 90 degrees with your kneecap not extended beyond your toes. From the deep lunge, press powerfully through your front foot to propel your body up and back to the standing position. Next, step forward with your other foot into a lunge — once to each side equals one rep.
Isometric Bulgarian Split Squat
Equipment: Flat bench or Swiss ball
Teri’s Take: “The isometric split squat forces you to work legs and glutes independently while also stretching your hip flexors and ankles at the bottom position.”
How-To: Stand about 2 feet or so facing away from a bench or exercise ball. Extend your left leg backward, resting the top of that foot on the bench or ball. Extend your arms to the side at shoulder height, engaging your lats and core. To start, slowly lower your hips downward by bending your front knee, keeping it centered — do not roll your knee to the inside or outside of your foot. When your knee joint reaches 90 degrees, hold that bottom position for a full three to five seconds in an isometric contraction, then reverse to standing. Complete six to 10 reps, then switch legs.
Mountain Climber
Equipment: None needed
Teri’s Take: “Mountain climbers are an effective endurance builder that work multiple muscles, including hip flexors, quads, hamstrings, glutes and calves. They are also versatile in that they can be performed at a slow tempo, allowing you to focus on technique, or at a fast pace to increase your endurance and conditioning levels.”
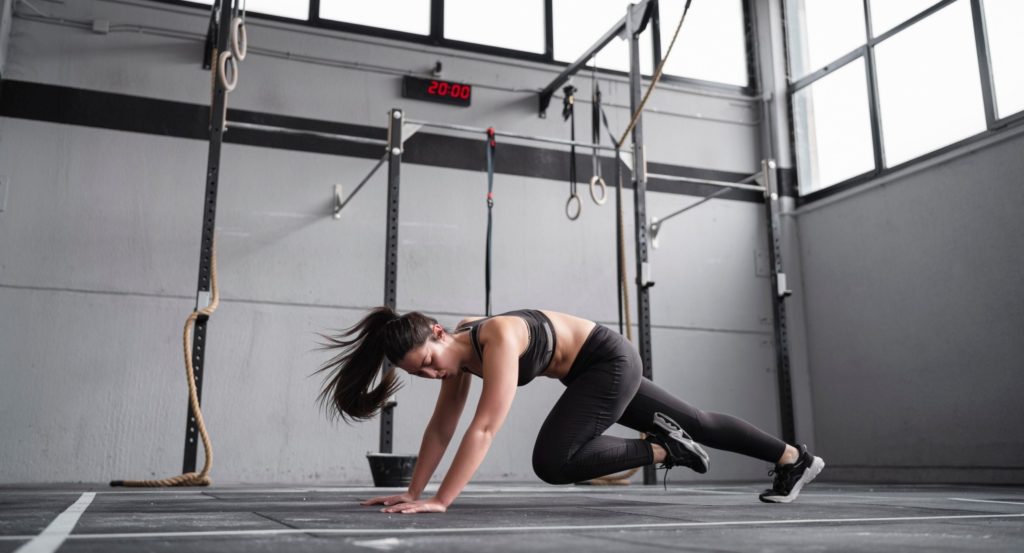
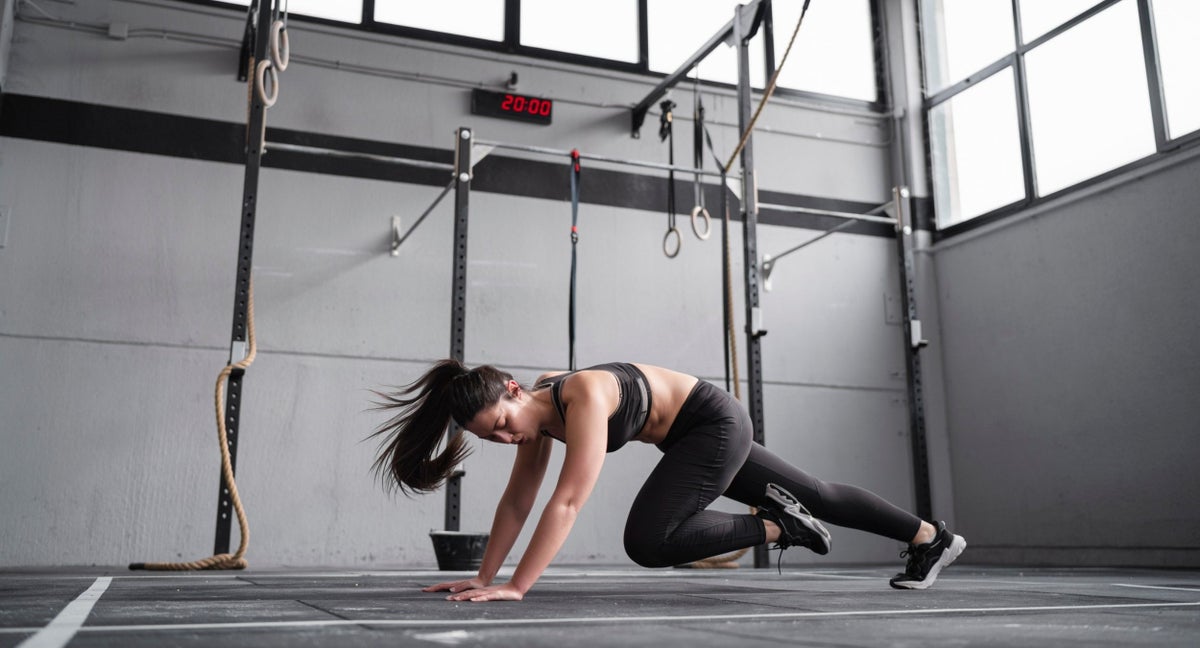
How-To: Start on the floor on your hands and knees. Place your hands shoulder-distance apart and align your shoulders directly over your wrists. Place your right leg back with those toes on the floor in a plank position; place your left leg back with your toes on the floor to meet your right leg in a plank position. Engage your lats and core, keeping your neck in line with your spine and focusing your eyes in front of your hands. Bend your right knee in toward your chest, then step it back into the plank position. Repeat with your left leg.
Continue that pattern for six to 10 reps, then pick up the pace that your legs are switching positions simultaneously — one leg is moving back while the other leg is coming forward — going as fast as you can for one to two minutes.
Published at Tue, 12 Apr 2022 10:33:47 -0700


